Stability Ball Shoulder (Glute) Bridge |
readmore »
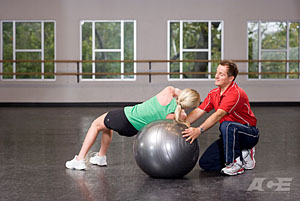
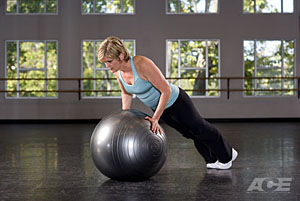
Step 1
Starting Position: Lie on your back on a mat, placing the backs of your lower legs and heels on the top of a stability ball. Place your feet a few inches apart on the ball with your ankles slightly flexed. Gently use your abdominal/core muscles to press your low back into the floor. Attempt to maintain this gentle muscle contraction throughout the exercise. Your arms are out to your sides with the palms turned down to the floor to help stabilize your body during the exercise.
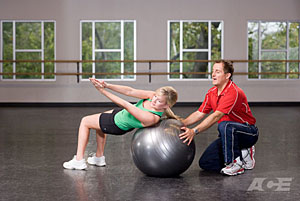
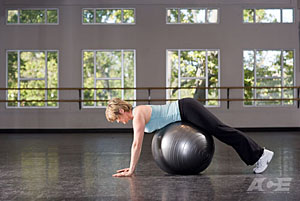
Step 2
Upward Phase: Gently exhale. Keep the abdominals engaged and lift your hips up off the floor. The backs of your lower legs and heels are pressing into the ball to assist the movement and provide additional stability. Press up until your torso and legs form a straight line with each other. Avoid pushing your hips so high that your low back begins to arch. Maintaining your abdominal contraction helps prevent excessive arching in your low back.
Step 3
Lowering Phase: Inhale and slowly lower yourself back towards your starting position.
Step 4
Exercise Variation (1): To further increase the balance challenge, move your feet closer together on the stability ball.
Step 5
Exercise Variation (2): To further increase the balance challenge, move your arms closer to your side or place them on your chest to reduce the stabilizing points of contact on the floor.
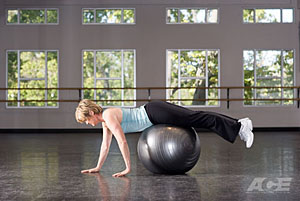
Step 6
Exercise Variation (3): To further increase the balance challenge, raise one leg off the ball toward the ceiling. Do not arch your lower back as you press your hips upward, which normally occurs when your hips are pressed up too far. Contracting your abdominal muscles prior to lifting, and keeping them engaged throughout the lift, helps prevent arching.